Since Tim has switched over to all Harley hand controls the cables were to long so I had to fabricate something to make up for the extra length. These little babies will do just fine and leave him lots of adjustment here as well as the cable ends.

The regulator had to be relocated and we found a great place to put the bracket mount under the tank.
The neck area had some big ugly brakets on it wo we cut them off and smoothed it out to look clean. We relocated the serial number plate here under the seat.
The gas tank had to be cut down to fit the lowered seat area. Just got to weld the top on and install the pop up gas cap.

New mounts for the body were fabricated and welded on in the right places so that when the body is mounted it sits in place without and stress on it.

Because we moved the body in as close as possible to the frame the battery needed to be changed so we are using a very small Lithium battery with lots of cranking power. We made a small holder for the battery size so ti would not move around. The closing brace had to be moved over and shortened to hold it in place.
The rear passenger pegs also needed to be lowered a bit so we made these mounts and welded them in place.

At the last minute Tim decided he wanted the licence plate side mounted so we picked up a bracket and welded a mounting tab for it on the rear swing arm.
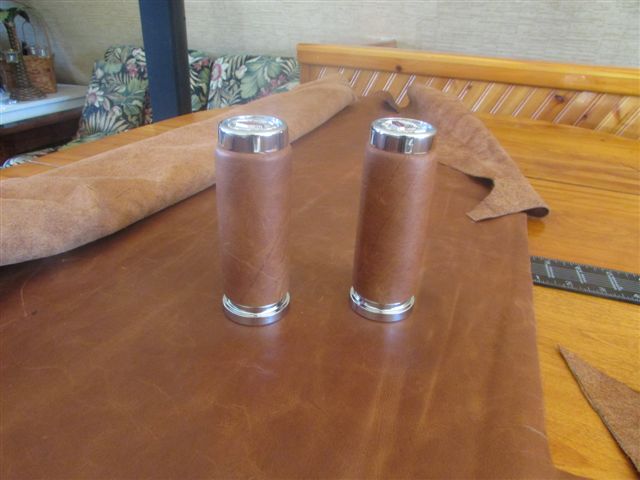
Ivan and Heather from "Recover your Ride" dropped by and test fitted the seats before they do the final seat upholstery for the bike. These will be very comfortable with the 2" high density foam. The also recovered the new hand grips in leather which will match the seat when its done.